How to Clean Makeup Brushes and Sponges: The Ultimate 2026 Guide to Flawless Skin
Dirty makeup tools harbor bacteria. This grime ruins your skin and your makeup application. Consequently, you must clean your brushes and sponges regularly to stay healthy. This guide shows you the best ways to sanitize your kit.
Bacteria thrive in damp, dark bristles. Furthermore, your skin’s natural oils mix with old foundation on the brush. This mixture creates a breeding ground for breakouts and irritation. Similarly, dirty tools change how your makeup looks. Old product buildup causes streaky finishes and muddy colors. Therefore, you deserve a flawless look every single time.
The Impact on Skin Health
Clogged pores lead to painful acne and redness. In addition, dirty sponges can even spread fungal infections across your face. You essentially wipe old germs onto your clean skin every morning. However, proper cleaning prevents these avoidable dermatological disasters. Ultimately, your skin will thank you for the extra effort.
Cleaning Your Makeup Sponges
Makeup sponges act like tiny, porous magnets for germs. For this reason, you should clean them after every single use. Deep cleaning once a week ensures total hygiene. Follow these steps for a spotless blender.
The Soap and Water Method
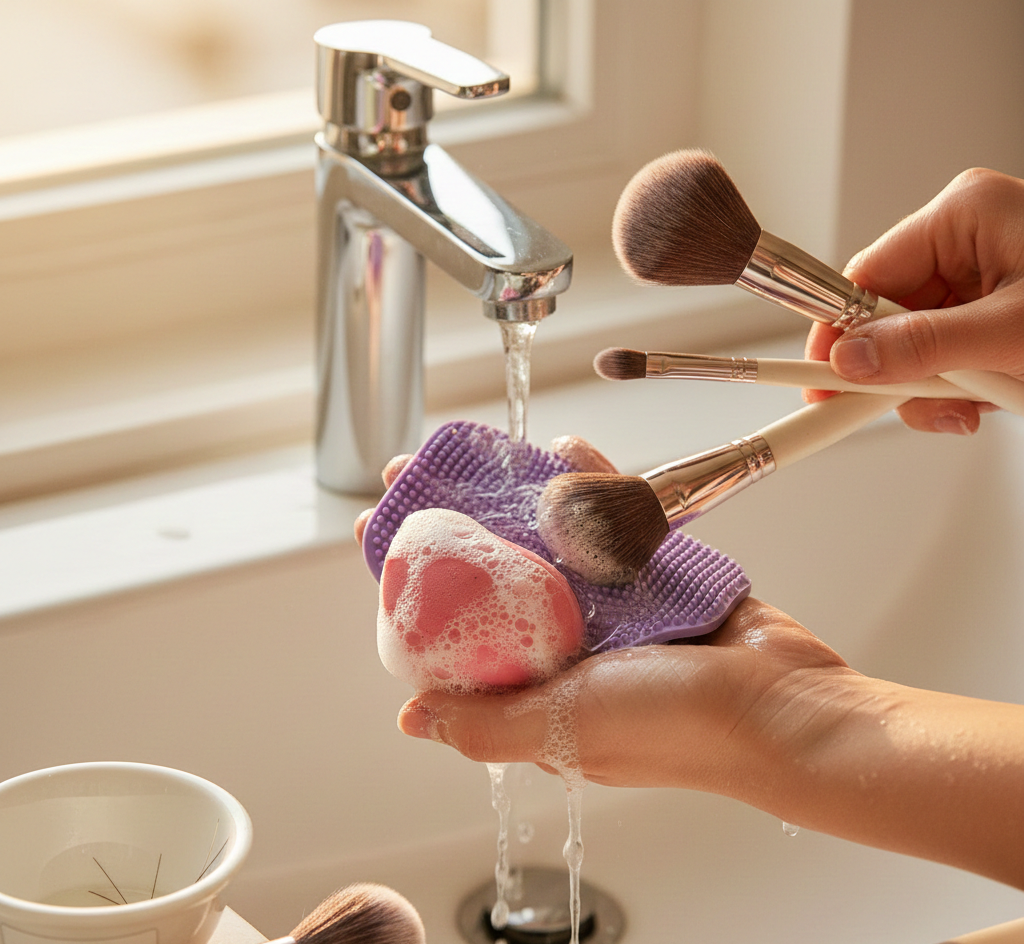
First, wet your sponge thoroughly under lukewarm water. Squeeze it several times until it expands fully. Next, apply a generous amount of liquid cleanser or bar soap. Massage the soap deep into the center of the sponge. Meanwhile, you will see the foundation start to bleed out.
Afterwards, rinse the sponge under running water. Continue squeezing until the water runs completely clear. If the sponge stays dirty, then stubborn stains might require a second round. Never pull or tug on the delicate foam material. Otherwise, you could tear the sponge and ruin its texture.
The Microwave Sanitization Trick
Alternatively, fill a microwave-safe cup with water and a little soap. Submerge your sponge completely in the soapy liquid. Place the cup in the microwave for one minute. Nevertheless, watch the cup closely to ensure the water does not overflow. This heat kills lingering bacteria deep inside the foam.
Wait for the water to cool before you reach for the sponge. Indeed, hot water can cause serious burns if you act too fast. Once the sponge feels cool, squeeze out the excess moisture. This method provides a deep, intensive sanitize for your tools.
How to Wash Your Brushes
Brushes require a slightly different touch than sponges. For instance, natural hair bristles need gentle care to prevent shedding. On the other hand, synthetic bristles handle stronger cleansers quite well. Collect all your dirty brushes before you start the process.
Step 1: Rinse the Bristles
Initially, hold your brush with the bristles pointing downward. Run lukewarm water over the tips of the hair. Be sure to avoid getting water into the metal ferrule. This is because water dissolves the glue that holds the bristles. Consequently, this mistake leads to excessive shedding and ruined brushes.
Step 2: Apply the Cleanser
Following the rinse, place a small drop of cleanser into your palm. You can also use a silicone cleaning mat for better results. Then, swirl the brush in circular motions against your palm. Watch the makeup residue transform into a thick, colored lather. Simultaneously, ensure the soap reaches the center of the brush head.
Step 3: Rinse Thoroughly
Next, place the brush back under the running water. Always keep the handle dry and the bristles pointing down. Squeeze the hair gently to remove all traces of soap. Continue rinsing until you see no bubbles in the water. Otherwise, soap residue makes bristles feel stiff and crunchy later.
Choosing the Right Cleanser
Not all soaps work the same for makeup tools. Specifically, you must choose a formula that cuts through heavy oils. Here are the best options for your cleaning routine.
- Dedicated Brush Cleansers: These formulas sanitize and condition the bristles perfectly.
- Antibacterial Dish Soap: This option cuts through stubborn, oil-based foundations quickly.
- Baby Shampoo: Use this for natural hair brushes to keep them soft.
- Solid Cleansers: These are great for travel and cleaning sponges efficiently.
Pro Tip: Avoid using harsh bleach on your expensive brushes. These chemicals dry out the hair and cause breakage.
Proper Drying Techniques
Drying your tools correctly is just as important as washing them. In fact, damp tools grow mold if they sit in dark places. Follow these rules for a safe drying process.
Reshape the Bristles
First, gently squeeze excess water out with a clean towel. Use your fingers to reshape the brush head immediately. This step ensures the brush maintains its original form. Regarding sponges, squeeze them until they are merely damp.
Lay Them Flat
Moreover, never dry your brushes standing upright in a cup. Water will seep down into the glue and wood. Instead, lay your brushes flat on the edge of a counter. Let the bristles hang off the edge for airflow. This setup allows air to circulate around the entire brush head.
Air Dry Completely
Finally, place your sponges in an open, airy location. Do not put damp sponges back into makeup bags. Because of the moisture, enclosed spaces encourage mold growth. Your tools should dry for at least eight hours. Thus, most people wash their tools at night.
When to Replace Your Tools
Cleaning extends the life of your tools significantly. Even so, no makeup tool lasts forever. You must know when to say goodbye to your favorites.
Replacing Sponges
Generally, you should replace your makeup sponges every three months. Tiny tears in the foam harbor hidden bacteria. If the sponge loses its bounce, then throw it away. Additionally, bad smells indicate it is time for a replacement.
Replacing Brushes
High-quality brushes can last for many years with care. However, replace them if the bristles start shedding constantly. If the ferrule becomes loose, then the brush is no longer safe. Furthermore, scratchy bristles can damage your delicate skin over time.
Final Thoughts on Tool Care
In conclusion, consistent cleaning saves you money and protects your skin. You will enjoy a smoother makeup application every day. Make tool hygiene a non-negotiable part of your beauty routine. Clean tools lead to a healthy, glowing complexion.
Leave a Reply