
How to Clean a Laptop Screen and Keyboard: The Ultimate Step-by-Step Guide
Keeping your laptop clean matters for your productivity and your device’s health. Because dust and grime accumulate quickly, your screen and keyboard suffer daily. For instance, you might see smudges during a sunny afternoon. Similarly, you likely feel the grit under your keys while you type. However, cleaning these components requires a delicate touch and the right supplies. After all, you do not want to damage your expensive hardware. Therefore, follow this guide to make your laptop look brand new again.
Prepare Your Workspace
First, shut down your laptop completely. Next, unplug the power cord and remove any connected accessories. In fact, you should never clean a powered-on device. This is because moisture can cause short circuits if the internal components are active. Furthermore, a dark screen reveals hidden smudges much more clearly. Finally, find a flat, stable surface with plenty of bright light.
Gather Your Supplies
Fortunately, you likely have most of these items at home already. Nevertheless, avoid harsh chemicals like glass cleaners or bleach. Specifically, these substances will strip away the protective coatings on your screen.
- Microfiber cloths: These soft cloths trap dust without scratching surfaces.
- Distilled water: Unlike tap water, distilled water won’t leave streaks.
- 70% Isopropyl alcohol: This helps disinfect the keyboard and remove oils.
- Compressed air: Use this to blow debris out of tight gaps.
- Soft-bristled brush: A clean makeup brush works perfectly for fine dusting.
Mastering the Screen Clean
Modern laptop screens use sensitive materials that scratch easily. Consequently, you must treat the display with extreme care.
Step 1: Dry Dusting
To begin, wipe the screen with a dry microfiber cloth. Move the cloth in gentle, circular motions across the surface. By doing this, you remove loose particles that might scratch the screen later. Additionally, avoid pressing down hard on the display. As a result, most fingerprints will disappear during this initial phase.
Step 2: Dampen the Cloth
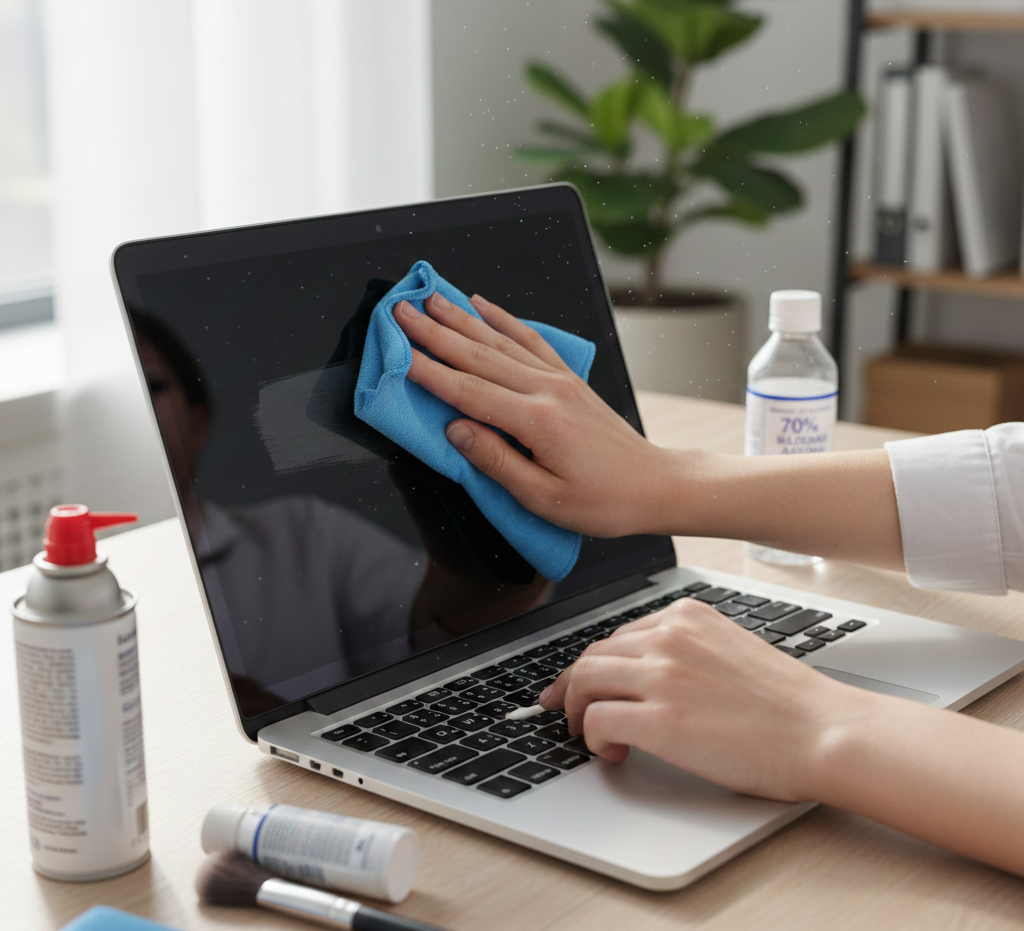
Instead of spraying the screen, spray a small amount of distilled water onto your cloth. Crucially, never spray liquid directly onto the laptop hardware. Otherwise, drops can seep into the bezel and fry the internal electronics. In short, the cloth should feel damp, not dripping wet.
Step 3: Targeted Wiping
Now, wipe the screen again using the damp section of your cloth. Work from the top down to ensure you catch every spot. At the same time, use consistent pressure to remove stubborn streaks. Afterward, use a dry part of the microfiber cloth to buff the surface. In turn, this prevents water spots from forming as the screen dries.
Reviving the Keyboard
Your keyboard is a magnet for crumbs, hair, and skin oils. Moreover, it often harbors more bacteria than a toilet seat. Therefore, regular cleaning is a hygienic necessity.
Step 1: The Shake Test
First, turn your laptop upside down while it remains open. Then, gently shake the device or tap the back of the case. Notice how large crumbs and debris fall onto your desk. Evidently, this simple move clears out the heaviest buildup immediately.
Step 2: Use Compressed Air
Secondly, hold your laptop at a 75-degree angle. Spray the compressed air into the keys in short, controlled bursts. Simultaneously, move the nozzle from left to right across the rows. Following this, rotate the laptop and repeat the process from a different angle. Ultimately, this technique ensures you reach the hidden corners under the keycaps.
Step 3: Scrubbing the Keys
Lastly, dampen a fresh microfiber cloth with 70% isopropyl alcohol. Alternatively, you can use a cotton swab for the spaces between keys. Gently rub the surface of each key to dissolve accumulated oils. Since the alcohol evaporates quickly, it won’t leave moisture behind.
Pro Tip: Above all, do not use “cleaning slime” or gels too often. In particular, these products can leave a sticky residue if they get warm.
Cleaning the Ports and Chassis
Beyond the screen, do not forget the rest of your machine. Specifically, dust often clogs the cooling vents and USB ports.
Clearing the Vents
To start, locate the intake and exhaust vents on your laptop’s body. Then, use the compressed air to blow out any visible dust bunnies. Clearly, overheating often stems from blocked airflow in these specific areas. Be sure to keep the air can upright to prevent liquid propellant from escaping.
Wiping the Case
In addition, use your alcohol-dampened cloth to wipe the palm rests and lid. Notably, these areas collect sweat and oils from your hands. As a bonus, a clean chassis makes the whole machine feel more premium. However, avoid getting moisture into the charging port or headphone jack.
What to Avoid
Even so, you can easily ruin a screen with the wrong habits. Please keep these warnings in mind for every cleaning session.
- Paper towels: These are made of wood pulp and will scratch your screen.
- Dish soap: In contrast, it creates suds that are difficult to remove.
- Abrasive sponges: These will permanently scuff the plastic or metal finish.
- Excessive liquid: In summary, a single drop in the wrong place can kill your motherboard.
Maintenance Schedule
Ideally, you should clean your laptop screen at least once a week. On the other hand, the keyboard might need attention every few days. Furthermore, monthly deep cleans prevent the buildup of permanent stains. By comparison, keeping your workspace clean also reduces the dust that reaches your laptop. Always wash your hands before using your computer to minimize oil transfer.
Conclusion
To conclude, cleaning your laptop improves both its appearance and its lifespan. Now, you have a clear view and a responsive keyboard. Essentially, this simple routine protects your investment and keeps your hands germ-free. So, take five minutes today to give your device the care it deserves.
Leave a Reply