

Clean Your Ceiling Fan Without Dust Falling: A Step-by-Step Guide
The Ultimate Guide to Dust-Free Ceiling Fan Cleaning
Cleaning a ceiling fan often feels like a messy trap. You pull the string and a gray cloud hits your face. Dust bunnies scatter across your bed or expensive rug. Consequently, it seems impossible to clean those blades without making a massive disaster. However, you can master this chore with the right strategy. This guide shows you how to trap every particle effectively. In turn, you will keep your floors clean and your air fresh.
Prepare Your Cleaning Station
First, you must gather your supplies before you start. You only need a few basic household items for this task. Specifically, grab an old pillowcase and a sturdy stepladder. You also need a microfiber cloth and a mild cleaning solution. In addition, many people prefer a simple mix of water and white vinegar. This natural combination cuts through grease without leaving sticky residues. At the same time, avoid using harsh chemicals that might damage the blade finish.
Next, ensure the fan stays completely powered off. You do not want the blades moving while you work. Notably, static electricity often holds dust against the surface of the fan. Turning off the power helps break that stubborn magnetic bond. Then, place your ladder on a flat and level surface. Make sure you can reach the blades comfortably without overextending. Above all, safety remains your top priority during any home maintenance task.
The Pillowcase Technique
The pillowcase method is the gold standard for dust-free cleaning. To begin, slide the pillowcase over a single fan blade. Wrap the fabric around the entire length of the wood or plastic. Then, press your hands firmly against the top and bottom of the blade. Following this, pull the pillowcase back toward the tip of the blade. The fabric catches all the debris inside the bag. Consequently, nothing falls onto the furniture or the floor below.
Similarly, repeat this motion for every single blade on the unit. You should work slowly to ensure total containment of the mess. Afterward, look inside the pillowcase after you finish each section. You will likely see a thick layer of trapped gray fuzz. Finally, shake the pillowcase outside once you complete the entire fan. This prevents the collected dust from escaping back into your home. Overall, this simple trick saves you hours of vacuuming and sweeping later.
Tackling Grime and Sticky Residue
Sometimes, dry dusting is not enough to get the job done. Kitchen fans often collect a layer of sticky cooking grease. In this case, you need to apply a damp treatment. First, lightly mist your microfiber cloth with your vinegar and water solution. Do not spray the liquid directly onto the fan motor or blades. Instead, wipe each blade gently with your dampened microfiber cloth. Indeed, excess moisture can seep into the electrical components and cause damage.
Furthermore, pay close attention to the edges of the blades. Grime usually builds up heavily along these narrow leading surfaces. To solve this, scrub in small circles to lift any stubborn or oily spots. The vinegar acts as a natural degreaser to restore the original shine. Then, wipe the blades a second time with a dry cloth afterward. Because of this, you prevent new dust from sticking immediately. As a result, your fan will look brand new and operate much more efficiently.
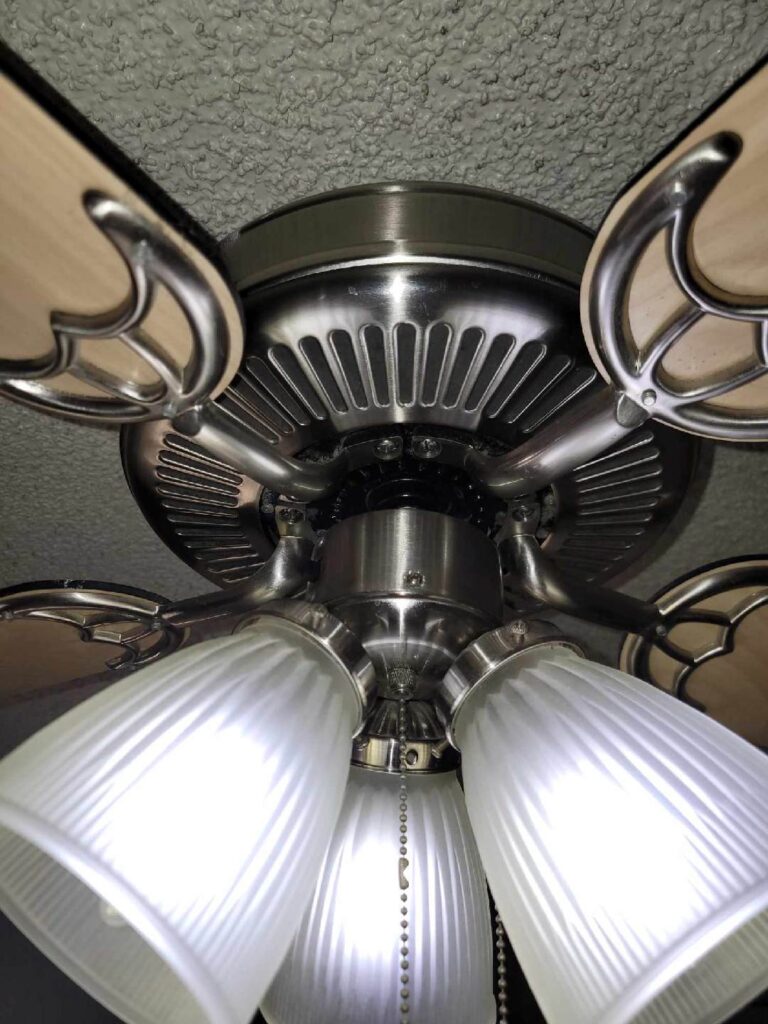
Don’t Forget the Motor and Light Fixture
The motor housing also collects a surprising amount of hidden dirt. In fact, dust inside the motor can cause overheating or annoying clicking sounds. Use a vacuum with a brush attachment to clean the vents. Carefully, suction away any debris lodged in the small metal openings. Meanwhile, avoid poking sharp objects into the motor casing at all costs. You want to clear the airway without disrupting the internal wiring.
Next, turn your attention to the glass globes or light bulbs. Specifically, remove the glass covers carefully if your fan includes a light kit. Wash these globes in a sink with warm, soapy water. Following that, dry them thoroughly before you attempt to reinstall them on the fan. Dust the light bulbs with a dry microfiber cloth as well. Ultimately, clean bulbs provide much brighter light and generate less heat. This small extra step makes the entire room feel much cleaner.
Long-Term Maintenance Strategies
You should clean your ceiling fans at least once every month. Regularly, frequent dusting prevents the buildup of thick and heavy layers. As a result, the “pillowcase trick” becomes even faster and easier. Additionally, you might also consider applying a thin layer of car wax. Rub a small amount of wax onto the clean, dry blades. Then, buff the surface until it feels slick and very smooth. Essentially, this creates a barrier that makes dust slide right off.
Moreover, check the direction of your fan blades each season. Most fans feature a small toggle switch on the motor housing. For example, in the summer, the blades should spin counter-clockwise for a breeze. Conversely, in the winter, they should spin clockwise to circulate trapped heat. Proper rotation prevents dust from settling heavily on the top surfaces. Thus, keeping the air moving helps maintain a healthier environment for your family.
Why Natural Solutions Work Best
Natural cleaners are often superior to expensive store-bought sprays. For instance, white vinegar is affordable and safe for almost every blade material. It kills mold spores that might hide in humid environments. Moreover, baking soda can help scrub away particularly tough, dried-on gunk. To do this, simply make a paste with a little bit of water. Apply it to the spot and wipe it away easily. Therefore, you avoid breathing in toxic fumes while working at heights.
Alternatively, using steam is another fantastic way to sanitize your ceiling fan. A handheld steamer can loosen grease without any scrubbing at all. However, you must be extremely careful around the electrical parts. Strictly, only use steam on the blades and the exterior housing. Wipe away the loosened moisture immediately with a clean towel. In short, this method is perfect for deep cleaning after a long hiatus. Your home will feel fresher without the use of synthetic perfumes.
Final Inspection and Cleanup
Once you finish, step back and inspect your handiwork closely. Specifically, check the tops of the blades for any missed streaks. Ensure the light fixtures are tight and the globes are secure. Next, take your dirty pillowcase and microfiber cloths to the laundry room. Wash them in hot water to kill any lingering dust mites. Finally, move your ladder back to its proper storage spot. You have successfully cleaned your fan without making a mess.
Now, enjoy the cool and clean air circulating through your living space. You no longer have to worry about falling dust bunnies. Indeed, this systematic approach ensures a professional result every single time. It protects your furniture and improves your overall indoor air quality. In conclusion, remember that a little bit of preparation prevents a massive cleaning headache. Keep your tools handy for a quick touch-up next month.
Leave a Reply