
How to Clean Painted Walls Without Damage: The Ultimate Safe Scrubbing Guide
Dirty walls can make a beautiful home look neglected. However, you might fear scrubbing away your expensive paint along with the grime. Fortunately, you can achieve a spotless finish without any damage. This guide teaches you how to clean effectively and safely.
Know Your Paint Finish
Before you start, you must identify your paint type. Flat or matte finishes require a very gentle touch. These surfaces are porous and lose pigment easily. On the other hand, semi-gloss and glossy paints withstand more vigorous scrubbing. Consequently, you should always test a small spot first. Choose an inconspicuous area behind a door or piece of furniture. Since every paint brand differs, this precaution is vital.
Gather Your Essential Supplies
You do not need harsh chemicals for this task. In fact, simple ingredients usually work best.
- Two large buckets
- Soft microfiber cloths
- A natural sponge
- Mild dish soap
- Baking soda
- Warm water
Moreover, ensure your cloths are white to avoid dye transfer.
Step 1: Dust the Surface
First, you must remove loose dirt and cobwebs. Wiping a wet cloth over dust creates a muddy mess. Use a vacuum with a brush attachment for the best results. Alternatively, wrap a microfiber cloth around a broom head. Start at the ceiling and work your way down to the baseboards. As a result, you will prevent dust from settling on clean areas. Furthermore, this step makes the actual washing much faster.
Step 2: Prepare Your Solutions
Fill your first bucket with warm water and a squeeze of dish soap. Avoid soaps with heavy dyes or perfumes. Then, fill the second bucket with plain, warm water for rinsing. This two-bucket system keeps your cleaning water fresh. Because you are using clean water to rinse, you avoid streaks. Additionally, change the water if it becomes cloudy.
Step 3: Use the Right Technique
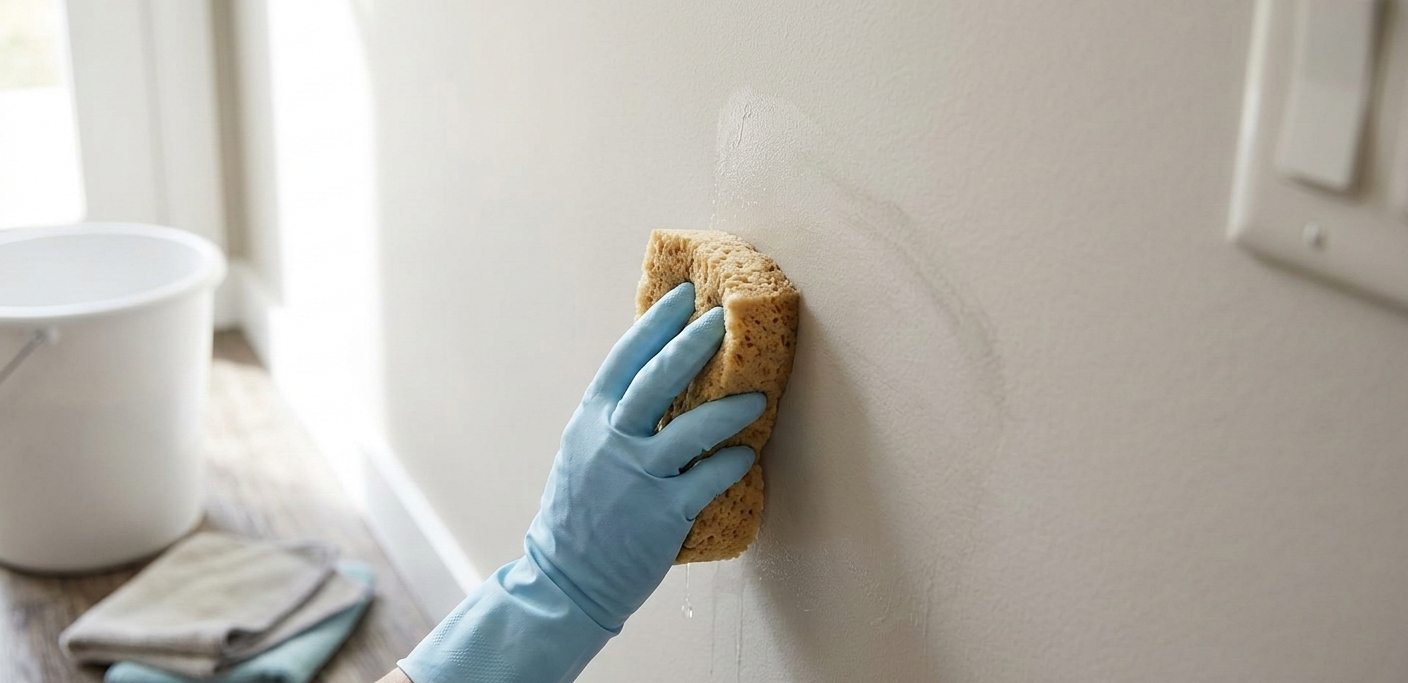
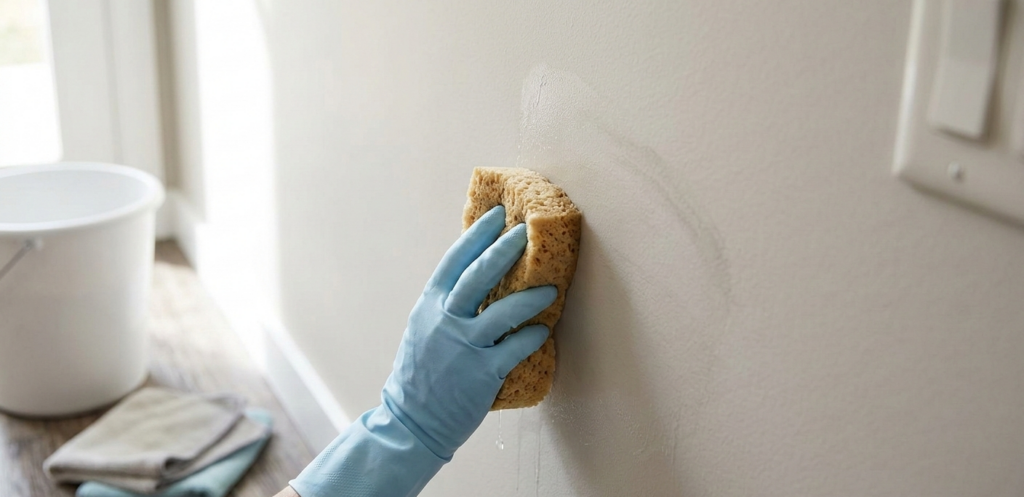
Dip your sponge into the soapy water. Wring it out until it is only slightly damp. Too much water can cause drips and permanent water marks. Wash the wall in gentle, circular motions. Start at the top and move downward systematically.
After you soapy a section, immediately switch to the rinse cloth. Wipe the area with the plain water. Finally, buff the section dry with a clean microfiber towel. Drying the wall is vital for protecting the paint’s sheen. Therefore, do not skip the drying phase.
How to Tackle Stubborn Stains
Sometimes, soapy water is not enough for scuffs or grease. However, you should still avoid abrasive scrubbers like steel wool. Instead, create a paste using baking soda and water. Apply the paste to the stain with a soft cloth. Rub very gently to lift the mark. Since baking soda is mildly abrasive, it cleans without stripping the color. For greasy kitchen walls, a splash of white vinegar in your bucket helps. In addition to cutting grease, vinegar acts as a natural deodorizer.
Common Mistakes to Avoid
Many people ruin their paint by using “magic” melamine sponges too aggressively. These sponges act like extremely fine sandpaper. They will dull your finish if you rub too hard. Additionally, avoid cleaners containing ammonia or bleach. These chemicals can cause discoloration or “burn” the paint surface. Instead, keep your movements light and patient. Furthermore, never use a saturated sponge on electrical outlets.
Maintenance Tips for Lasting Color
Regular dusting prevents deep-seated grime. Try to wipe down high-traffic areas once a month. This includes spots around light switches and door frames. Because you clean often, you will rarely need deep scrubs. Furthermore, keep a small jar of leftover paint for quick touch-ups. Consequently, your home will always look pristine.
Summary Checklist
| Step | Action | Tool |
| 1 | Remove Dust | Vacuum or Microfiber |
| 2 | Prepare Soap | Mild Dish Soap + Warm Water |
| 3 | Wash Wall | Damp Sponge (Circular Motion) |
| 4 | Rinse | Clean Water |
| 5 | Dry | Microfiber Cloth |
Cleaning your walls does not have to be a stressful chore. Also, by using the right tools, you preserve your home’s vibrant colors. Consequently, your walls will look fresh and new for years to come. In short, patience and the right supplies are your best friends.
Leave a Reply