
How to Clean a TV Screen Without Streaks: The Ultimate Guide
Nothing ruins a cinematic masterpiece like a greasy fingerprint or a dusty smudge right in the middle of the action. You sit down for movie night, but you only see a streak across the protagonist’s face. Cleaning a modern TV screen feels intimidating because these displays are incredibly fragile. One wrong move with a harsh chemical can permanently strip the anti-reflective coating.
If you want a crystal-clear view without those annoying streaks, you must follow a specific process. Most people grab the nearest glass cleaner and a paper towel, but that is a recipe for disaster. This guide will show you how to clean your screen like a professional.
The Golden Rule: Preparation is Key
Before you touch the screen, you must prepare your workspace and your device.
Power Down Your Television
First, turn off your TV and unplug it from the wall. A black screen makes dust and smudges much easier to see. Furthermore, internal components generate heat while the TV is running. Cleaning a warm screen often causes the liquid to evaporate too quickly, which leads to streaks. Consequently, you should wait at least fifteen minutes for the panel to cool down completely.
Select the Right Tools
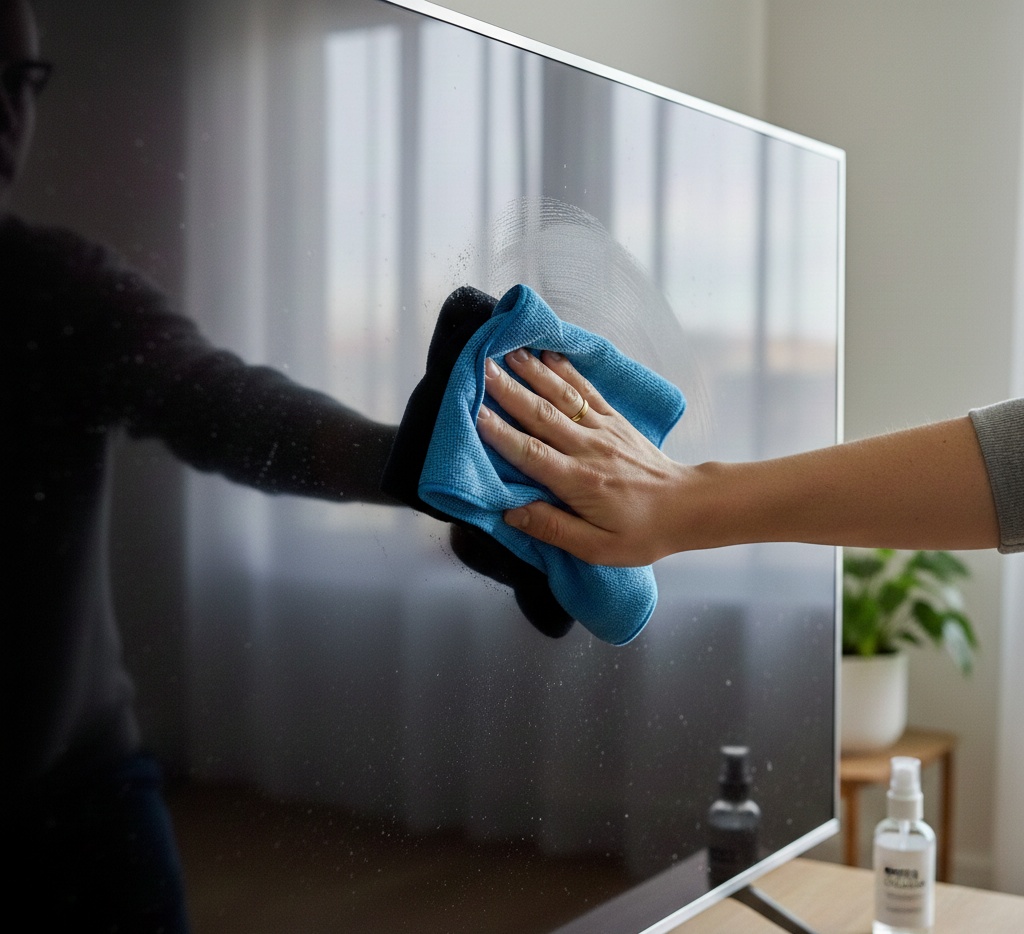
Do not use paper towels, tissues, or old rags. These materials contain tiny wood fibers that can scratch delicate plastic coatings. Instead, find a high-quality microfiber cloth. This specific fabric traps dust and oils without pushing them around the surface.
Step 1: Dry Dusting First
Many people jump straight to using liquids, but this is a mistake.
- Start with a gentle wipe. Use your dry microfiber cloth to lightly brush the entire surface.
- Use circular motions. Do not press hard against the panel.
- Check the edges. Dust often accumulates in the corners where the bezel meets the glass.
Frequently, dry dusting removes 90% of the debris. If you apply liquid to a dusty screen, you essentially create a muddy sandpaper. Therefore, always ensure the screen is free of loose particles before moving forward.
Step 2: Choosing Your Cleaning Solution
If dry dusting fails to remove a stubborn smudge, you need a little moisture. However, the type of liquid you use matters immensely.
What to Avoid
- Window Cleaners: Most contain ammonia or alcohol. These chemicals destroy the protective layers on OLED and LCD screens.
- Tap Water: Mineral deposits in tap water can leave white spots or micro-scratches.
- Soapy Water: Soap leaves a film that is nearly impossible to buff out.
What to Use
Ideally, use distilled water. It contains no minerals and leaves no residue behind. If the smudge is particularly oily, mix a solution of 50% distilled water and 50% white vinegar. Alternatively, purchase a dedicated screen cleaner that explicitly states it is “alcohol and ammonia-free.”
Step 3: The Secret to a Streak-Free Finish
Now that you have your tools, follow this precise method to ensure a perfect result.
Dampen the Cloth, Not the Screen
Never spray any liquid directly onto the TV. Gravity will pull the liquid down into the bezel. If moisture reaches the internal ribbons or electronics, your TV will die. Instead, spray a small amount of your solution onto the microfiber cloth. It should feel damp, not dripping wet.
Gentle Pressure Only
Wipe the screen in a consistent pattern. Start at the top left and move horizontally to the right. Then, drop down and wipe back to the left. This “S” pattern ensures you cover every square inch.
Because modern screens are thin, heavy pressure can damage the liquid crystals inside. If a smudge persists, wipe it several times gently rather than scrubbing once with force.
The Buffing Stage
After you use the damp side of the cloth, flip it to the dry side immediately. Buff the area in small, light circles. This step removes any remaining moisture before it has a chance to air-dry and form a streak.
Step 4: Cleaning the Rest of the TV
While the screen is the star, do not forget the rest of the unit.
- The Bezel: Use your cloth to wipe the plastic frame around the screen.
- The Back Vents: Dust loves to hide in the cooling vents. Use a vacuum with a brush attachment or a can of compressed air to clear these.
- The Remote: Your remote carries more germs than almost anything in the house. Use a disinfectant wipe on the buttons, but ensure it is not soaking wet.
Pro Tips for Long-Term Maintenance
Maintaining a clean screen is easier than performing a deep clean every month.
Dust Regularly
Try to give your TV a quick dry wipe once a week. Frequent dusting prevents the buildup of thick grime. Consequently, you will rarely need to use liquid cleaners.
Control Your Environment
If you have kids, teach them not to touch the glass. Finger oils are acidic and can be difficult to remove over time. Also, keep your TV away from the kitchen. Cooking grease travels through the air and sticks to electronic screens.
Store Your Cloths Properly
Keep your microfiber cloths in a sealed bag or drawer. If they sit out, they collect dust. Using a dusty cloth to clean a screen is counterproductive. Wash your cloths regularly in the laundry, but avoid fabric softeners. Fabric softeners leave an oily residue that causes streaks.
Summary Checklist
| Step | Action | Tool |
| 1 | Power Off | Remote / Power Button |
| 2 | Cool Down | Time (15 Minutes) |
| 3 | Dry Dust | Microfiber Cloth |
| 4 | Damp Wipe | Distilled Water + Cloth |
| 5 | Buff Dry | Dry Side of Cloth |
Final Thoughts
Cleaning your TV does not have to be a stressful chore. By using the right materials and a gentle touch, you can restore that out-of-the-box shine. Avoid the temptation to use kitchen cleaners or old t-shirts. Stick to distilled water and microfiber for the safest results.
Now, you can finally enjoy your favorite shows without a single smudge distracting you from the plot. Your eyes and your expensive hardware, will thank you.
Leave a Reply